To remove the cover on a Mitsubishi Mini Split, locate the tabs and gently pull to release. Then, carefully lift the cover up and away from the unit.
Mitsubishi Mini Splits are known for their efficiency and reliability, but there may come a time when you need to access the internal components for maintenance or repairs.
In this guide, we will walk you through the simple steps to understand how to remove the cover on a Mitsubishi Mini Split safely and easily!
With the right tools and technique, you can confidently maintain and service your Mini Split to keep it running smoothly for years to come.
Page Contents
- 1 Prepare The Space To Remove Cover on Mitsubishi Mini Split
- 2 A Step By Step Guide – How To Remove Split AC Indoor Unit Cover
- 2.1 Step #1: Identifying The Cover Fasteners
- 2.2 Step #2: Removing The Cover Properly
- 2.3 Step #3: Dealing With Stuck Screws
- 2.4 Step #4: Cover Does Not Budge
- 2.5 Step #5: Cleaning The Mini Split’s Interior – How To Clean Fan On Mitsubishi Mini Split
- 2.6 Step #6: Reattaching The Cover Correctly
- 2.7 Step #7: Testing The Mini Split Post Procedure
- 3 Expert Tips Revealed For How to Remove Cover on Mitsubishi Mini Split
- 4 Questions May Arise Regarding Cover Of Mitsubishi Mini Split
Prepare The Space To Remove Cover on Mitsubishi Mini Split
Before beginning the cover removal process, it is crucial to have the right tools at your disposal.
Prepare by gathering a
- #1 and #2 Phillips screwdriver
- Needle-nose pliers
- A flathead screwdriver
Once you have the necessary tools, the next step is to safely power off the Mitsubishi Mini Split.
Locate the power disconnect switch, typically situated near the outdoor unit.
Switch the disconnect to the off position to ensure the unit is powered down before proceeding with cover removal to mitigate any potential hazards.
Before attempting to remove the cover, it is crucial to guarantee that the area around the Mitsubishi unit is clear and safe to access. This will prevent any potential hazards and make the removal process more efficient.
A Step By Step Guide – How To Remove Split AC Indoor Unit Cover
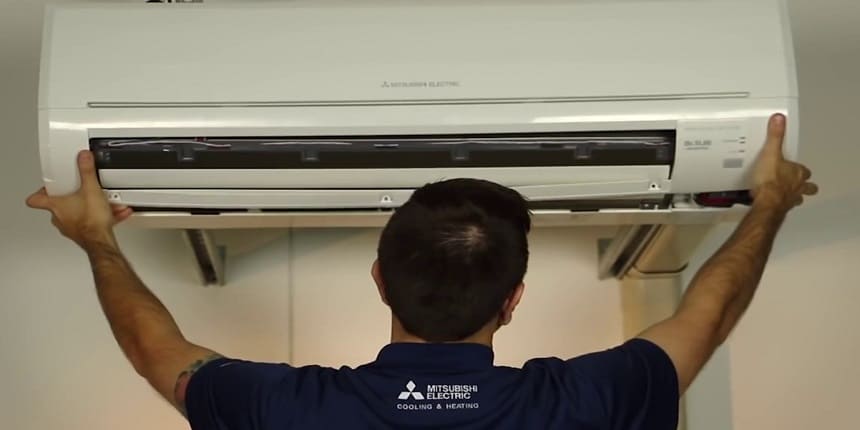
Step #1: Identifying The Cover Fasteners
First, locate the screws and clips holding the cover in place. These fasteners are typically positioned along the edges of the cover and can be concealed beneath small plastic caps.
Carefully inspect the perimeter of the cover to identify all the fasteners before proceeding with removal.
Before removing the cover, it’s important to understand the mechanism that secures it in place.
Familiarize yourself with the specific type of fasteners used, whether they are standard screws or specialized clips.
Additionally, take note of any safety latches or locks that may be present, as these must be disengaged before the cover can be removed.
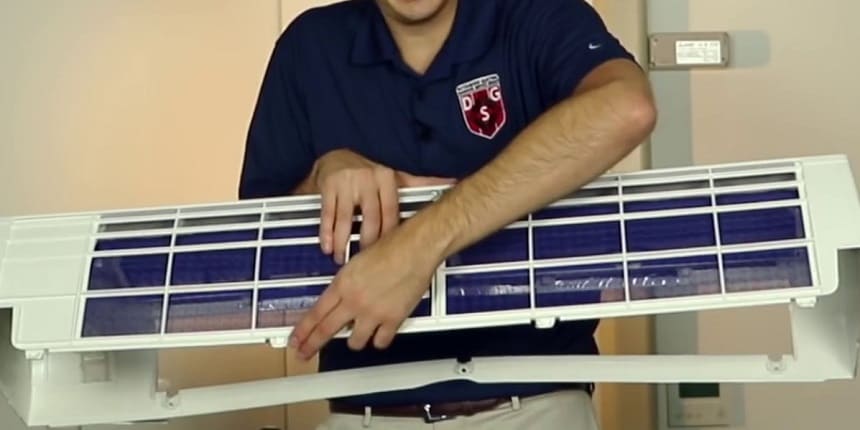
Step #2: Removing The Cover Properly
By utilizing techniques to remove the cover without causing damage, you can effectively access the internal components for maintenance or troubleshooting. Carefully unscrew or unclip them according to the manufacturer’s instructions.
Ensure to support the weight of the cover as you release the fasteners to prevent any sudden drops or potential damage.
Once the fasteners are loosened, gently lift and remove the cover, being mindful of any connected wires or components.
Taking these precautions will enable you to safely and effectively access the inner workings of your Mitsubishi Mini Split without causing any harm to the unit.
Step #3: Dealing With Stuck Screws
Struggling with stubborn screws when removing the cover on your Mitsubishi Mini Split?
Start by applying lubricant to the screws and using a proper-sized screwdriver.
Apply steady pressure and, if needed, use a manual impact driver for added force. This method can help to effectively release stuck screws, making cover removal easier.
| Dealing with Stuck Screws: |
| When faced with difficult screws on a Mitsubishi mini split cover, it’s essential to employ effective methods for loosening them. Applying penetrating lubricants such as WD-40 and allowing them to sit for some time can significantly aid in facilitating screw removal. Additionally, using different tools such as impact drivers or screw extractors may prove useful in challenging situations. |
| When to apply lubricants or use different tools: |
| Applying lubricants becomes imperative when screws show resistance during removal. It’s important not to force the screws, as this can cause damage. Using alternative tools should be considered when traditional methods prove ineffective. Evaluating the condition of the screws and the surrounding area is crucial in determining whether lubricants or different tools are necessary for the successful removal of the cover on a Mitsubishi mini split. |
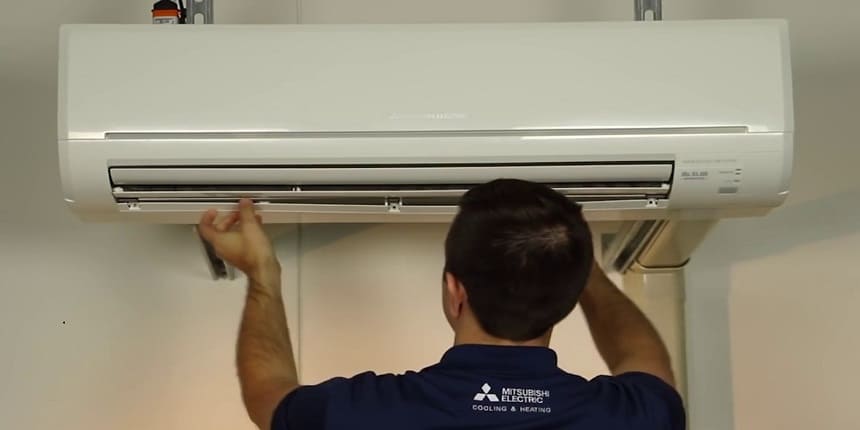
Step #4: Cover Does Not Budge
Once the fasteners are removed, use gentle techniques to release the cover. Avoid using excessive force, as this could cause damage to the unit.
Try gently wiggling the cover to loosen it from the unit. If the cover does not budge, carefully inspect the edges for any additional fasteners that may have been overlooked. Once all fasteners are removed, the cover should be able to be released with ease.
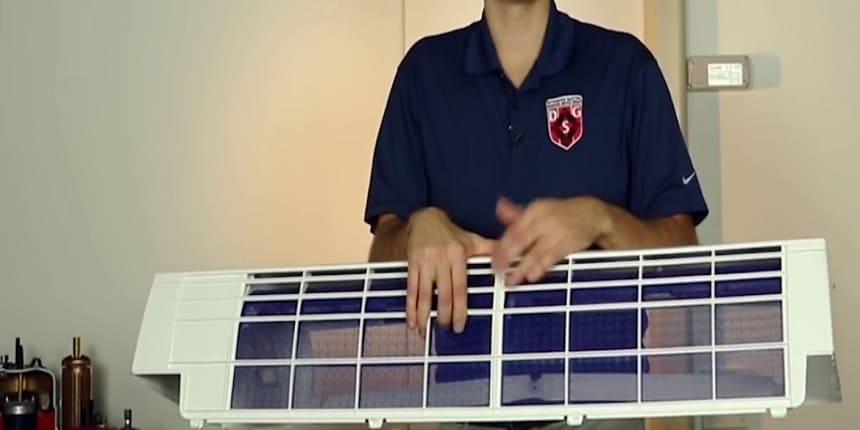
Step #5: Cleaning The Mini Split’s Interior – How To Clean Fan On Mitsubishi Mini Split
Proper cleaning techniques involve using a soft brush or cloth to remove dust and debris.
Try to avoid using harsh chemicals or excessive water, as this can damage the unit.
For stubborn dirt, a mild detergent diluted in water can be used. Avoid cleaning the coils with a brush or vacuum cleaner to prevent damage. After cleaning, ensure the unit is completely dry before replacing the cover.
Step #6: Reattaching The Cover Correctly
Be sure to reattach it correctly by aligning it properly and securely fastening the screws. This ensures the cover is securely in place and protects the internal components of the unit.
When removing the cover on a Mitsubishi Mini Split, it’s essential to align it properly upon reattachment.
Careful alignment ensures that the cover fits snugly and functions as intended. After aligning the cover, secure the fasteners without over-tightening.
Overtightening could lead to damage or difficulty in future cover removal. Ensure an even distribution of pressure on all fasteners to prevent warping or misalignment.
Step #7: Testing The Mini Split Post Procedure
Once the cover is removed, proceed with the power-up test in a cautious manner, ensuring that all connections are secure and no components are damaged.
After reassembling the system, verify normal operation to guarantee that the Mini Split is functioning as expected.
Taking these precautions and following the correct procedure for removing the cover will help to ensure the safety and efficiency of the Mini Split system.
Expert Tips Revealed For How to Remove Cover on Mitsubishi Mini Split
Removing the cover on a Mitsubishi Mini Split is a task that requires attention to safety protocols.
It’s also important to follow the manufacturer’s guidelines and ensure the power is turned off before starting the process.
If you encounter any difficulties or feel uncertain, seek professional help to avoid potential hazards. Recognizing when it’s necessary to consult a professional underscores the significance of safety measures when working with Mini Split systems.
Questions May Arise Regarding Cover Of Mitsubishi Mini Split
How Do I Remove The Cover On A Mitsubishi Mini Split?
To remove the cover on a Mitsubishi Mini Split, start by turning off the unit and locating the screws or clips holding the cover in place.
Use a screwdriver or your hands to loosen them, then gently lift the cover off the unit to access the interior components.
What Tools Do I Need To Remove The Cover?
You will need a screwdriver, and in some cases, a set of pliers may also help loosen the screws or clips. It’s important to use the right tools to avoid damaging the cover or the unit itself during the removal process.
Are There Any Safety Precautions To Consider?
Before removing the cover, be sure to turn off the power to the unit to avoid any electrical hazards. Additionally, wear protective gloves to prevent any potential injury from sharp edges or corners of the cover.
Can I Clean The Interior After Removing The Cover?
Yes, after removing the cover, you can access the interior components of the Mitsubishi Mini Split for cleaning and maintenance purposes. Use a soft brush or cloth to gently clean any dust or debris from the interior surfaces. Remember to handle all components carefully.